


NOTE: These construction notes are for revision 1.5 ONLY
If you are looking for the construction notes for the earlier kit releases, you can find them archived here
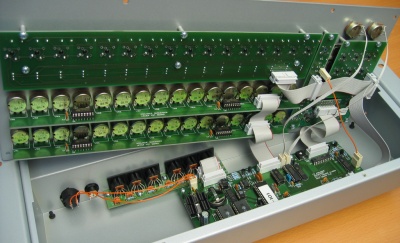
Internal view of the production P3:
NB. Assembly from a kit is not recommended for beginners
It's not my intention to give a tutorial on how to populate a PCB here, there are plenty of pages on the web offering advice on the subject. Any specific gotchas will be pointed out on the page for each board.
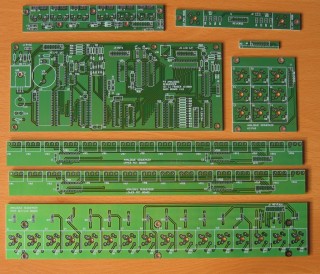
The P3 PCBs
The P3 Sequencer is constructed from a set of 8 PCBs.
As well as the PCB/CPU kit, you will need to buy all the parts on the bill of materials, and provide a suitable enclosure if you don't opt for the high-quality production case.
The links below give details for each of the boards in the set:
 |
|
Click here for final assembly details

